Tuesday, March 31, 2015

My sword glows blue...orcs coming!

I began my gaming career with fantasy games: SPI's War of the Ring in 1979 (with the wicked-cool Gondor and Sauron minigames!) and the blue-box Basic Dungeons and Dragons the following year. One could argue that it was all downhill from there. Yet despite my love of the fantasy genre, I never really got into fantasy miniatures gaming, except as a supplement for D+D.  SO at long last, I shrugged my shoulders and said "Why the heck not"? I have a set of medieval rules that I think will work really well with fantasy mass combat (based loosely off of Hail, Caesar!, but I also might give the fantasy version of Impetus a whirl) and an Old Glory Army membership, so off we go!

I started these guys just over a month ago. One nice thing about orcs as opposed to Napoleonic soldiers: a lot less fiddly equipment, straps, and shako plates to paint.

Two units of Warg cavalry.  I was aiming for a shield design with bold colors and jagged lines. Only when I was done did I realize that I had invented the ZZ Top logo. Oh, well. Orcs would probably dig ZZ Top.

Archers

The Orc commander.  I'll probably stream a blood-red pennant from the skull-flagpole.

One of the units of infantry. The scuplts are Old Glory 25mm. They come to about a dollar per figure, with the OGA discount.  A much better deal than Warhammer plastics, and I like the look a lot better, too.

Another view of the infantry, this time with flash engaged.

I added a bunch of goblins from Reaper Bones, since they are going for a song on E-bay (less than $.50 each).  I missed out on the reaper Bones Kickstarter, and now that I see some up close, I'm not too disappointed.  While I like the big-headed look of Pathfinder goblins, I found that a lot of detail was lost in the soft resin casting process. Several goblins are also listing to starboard, as the resin bent in shipping and, while many could be twisted back into shape, others could not.  A C- on the Bones at best. 

I had hoped to mount the goblins four to a 40mm square base, but though the models themselves are small, their individual bases are huge. So, they will march three to a base, just like their Orc cousins.

Tuesday, March 24, 2015

My First Game of Blucher: Bitter Slavic Tears

Last night I played my first game of Blucher at my friend Joe's house.  We were both intrigued by the promise of this new set of rules: corps-level commands that are fast, fun, and playable.  It was the inagural outing for my 10mm armies, French and Russians from Old Glory.  We used only a tiny fraction of Joe's table for the game. Since we are just learning the rules, we decided to forgo the Scharnhorst campaign setup, although they look like a lot of fun.

Here is the setup , using my homemade blinds  With about 26 units a side, this is about the upper limit for a standard game. As you can see, the table looks pretty crowded.  There was still room for maneuver, but once corps were committed, they were pretty much locked in. This meant keeping a reserve  under the blinds very important, as it was the only way to reinforce a sector in need of support.  Note to self: sending cavalry units forward to discover concealed enemies might be a useful tactic from preventing them from using the bounds of reserve movement early in the game.

The overhead view.

Units start to appear on the battlefield.  Even though there appears to be less terrain than we use for our tactical-level games, those woods and villages played a big role by creating choke points.

Joe rolled an 18 for my first Momentum roll. Sicne I didn't want to reveal all of my units, I didn't even come close to spending them all. Seriously, who rolls an 18 on 3d6? Where were those rolls when I was playing D&D?

Joe's units start to come out. I rolled very well to start, and those good rolls probably encouraged  my to keep up the shooting war. As I learned later, that was a bog mistake.  However, my early efforts at melee met with frustration (the infantry to the left of the village tried to assault the French infantry to his front. The combat results were a draw, which meant I had to withdraw to lick my wounds (we later corrected my retreat to two base widths which had the added benefit of blocking my artillery. Joy).

Here is where things get ugly.  In hindsight, I should have just plowed in to the line of French and taken my lumps, trusting in my reserves to finish the job. Instead, I hesitated, leaving my troops in skirmish range. Here, the French had a big advantage, and they shot me to pieces. My early luck with the dice evaporated, and a whole corps of Russians was shattered with very little to show for it. 

Joe surveys the field.  His heavy cavalry has just deployed between the two woods, forcing most of my infantry in the center to go into a "prepared" state. Joe had the artillery at hand to punish them, showing a textbook example of how to use the arms of a Napoleonic army.

I deployed my heavies to counter.  While they screened my infantry, heavy cavalry is far more effective in the attack, and since Joe had the jump on my, my dragoons and cuirassiers had a rough time. The dragoons in the foreground were even eliminated in a single turn! (BTW, that's REALLY hard to do in Blucher, unless spiteful dice gods frown on you).  Still, the melee wore down Joe's cav, and my infantry could breathe easy, for a short time...

At length, my left wing could no longer withstand the firefight I had abandoned them to.I sent in my Guard corps to finish the job. While they might, at length, have turned the tide in that sector, my decision to commit them gave Joe a free hand to deploy his own guard units where he saw fit. By now, my center was battered and beleaguered, and there was no way they could withstand fresh elite units I conceded the game at that point.

All in all, a fun game. Maneuver was a bit clumsier than we were used to, but that gives a good feel for the command level the game simulates. A commander who orders brigades and divisions forward is painting with a much broader brush than a tactical commander. Joe and I doubtless overlooked some nuances of the rules, but we worked things through easily enough and came away thinking that the rules were elegant and clear.

I learned a lot from my mistakes. Lesson one: Russians have good artillery and terrible skirmish ability. Thus, they should engage the french either at very long or very short range. Lesson two: While melee combat may not be decisive (pace, sad little dragoon unit!), it allows you to weaken an enemy position if you have the reserves to exploit it later.  When Joe made his firing line, I should have ignored one turn of close range volley fire and just plowed right in.  I would have taken my lumps, but the ability to pick targets in the assault would have greatly weakened Joe's position, and I had two fresh units with which I could have exploited the results.  Lesson three: The side that keeps units in reserve the longest has a big advantage.  Instead of holding my cossacks as second-rate battle cavalry, it is worth considering using them to race towards still-concealed units. 

Looking forward to another game, with Scharnhorst thrown in to boot!

Wednesday, March 18, 2015

Young Generals go Fourth

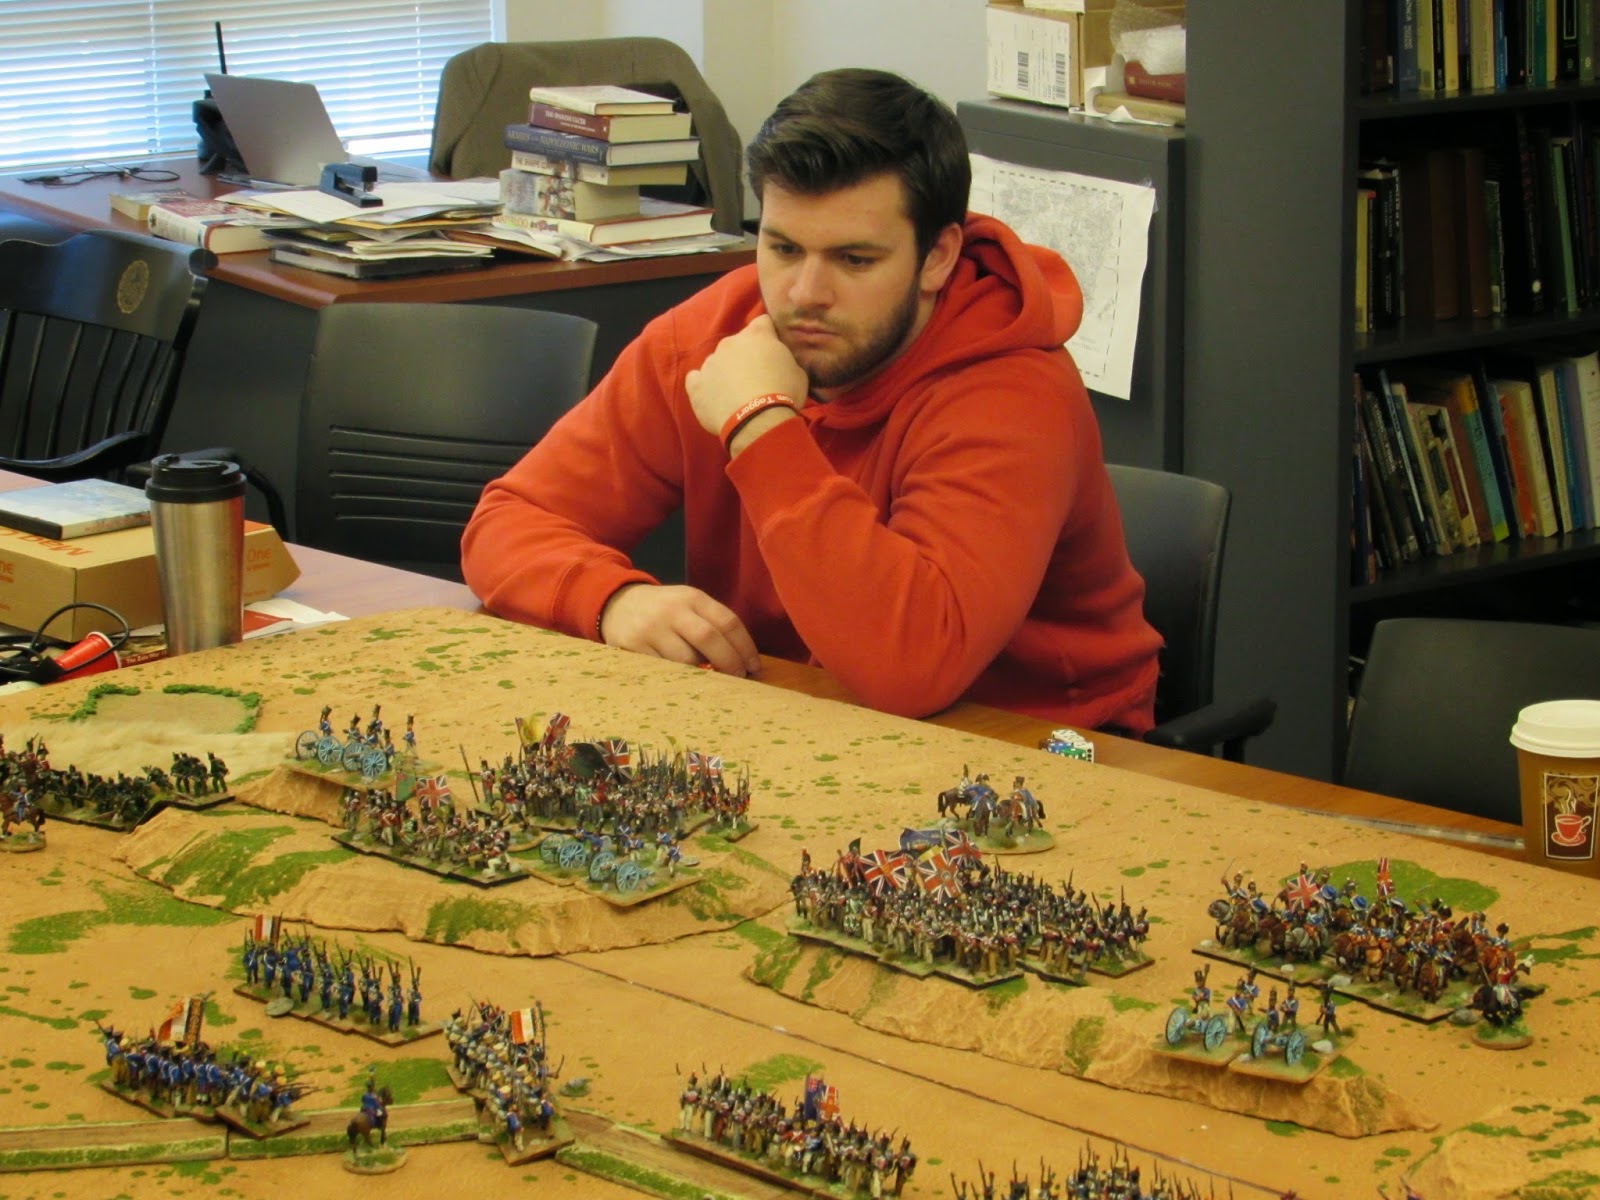
Tim looks nonplussed as his Guardsmen have just withstood a furious attack by British cavalry.

The British abandoned their position behind the reverse slope and pounced on the French center. To compensate , Garrett moved his light horsemen to serve as a reserve.  By Jove, I think he has it!

The Prussians are still in the freakin' woods!  The Prussian line infantry is being overwhelmed by the firepower of the Bavarian lines. To shore up the position, Don moved his Spanish-ified cavalry slowly through the woods to secure the position.

Ryan gazes intently at the British left. His quote of the day: "I have no clue what's going on.  Just give me the dice and tell me what I need to roll."

On the left, French chasseurs take on British line.  Though the Brits were caught in the open, they gave as good as they got, and the cavalry, already exhausted by artillery fire, beat a retreat.  On the right, Bavarian infantry show the Brits how its done when one faces cavalry. 

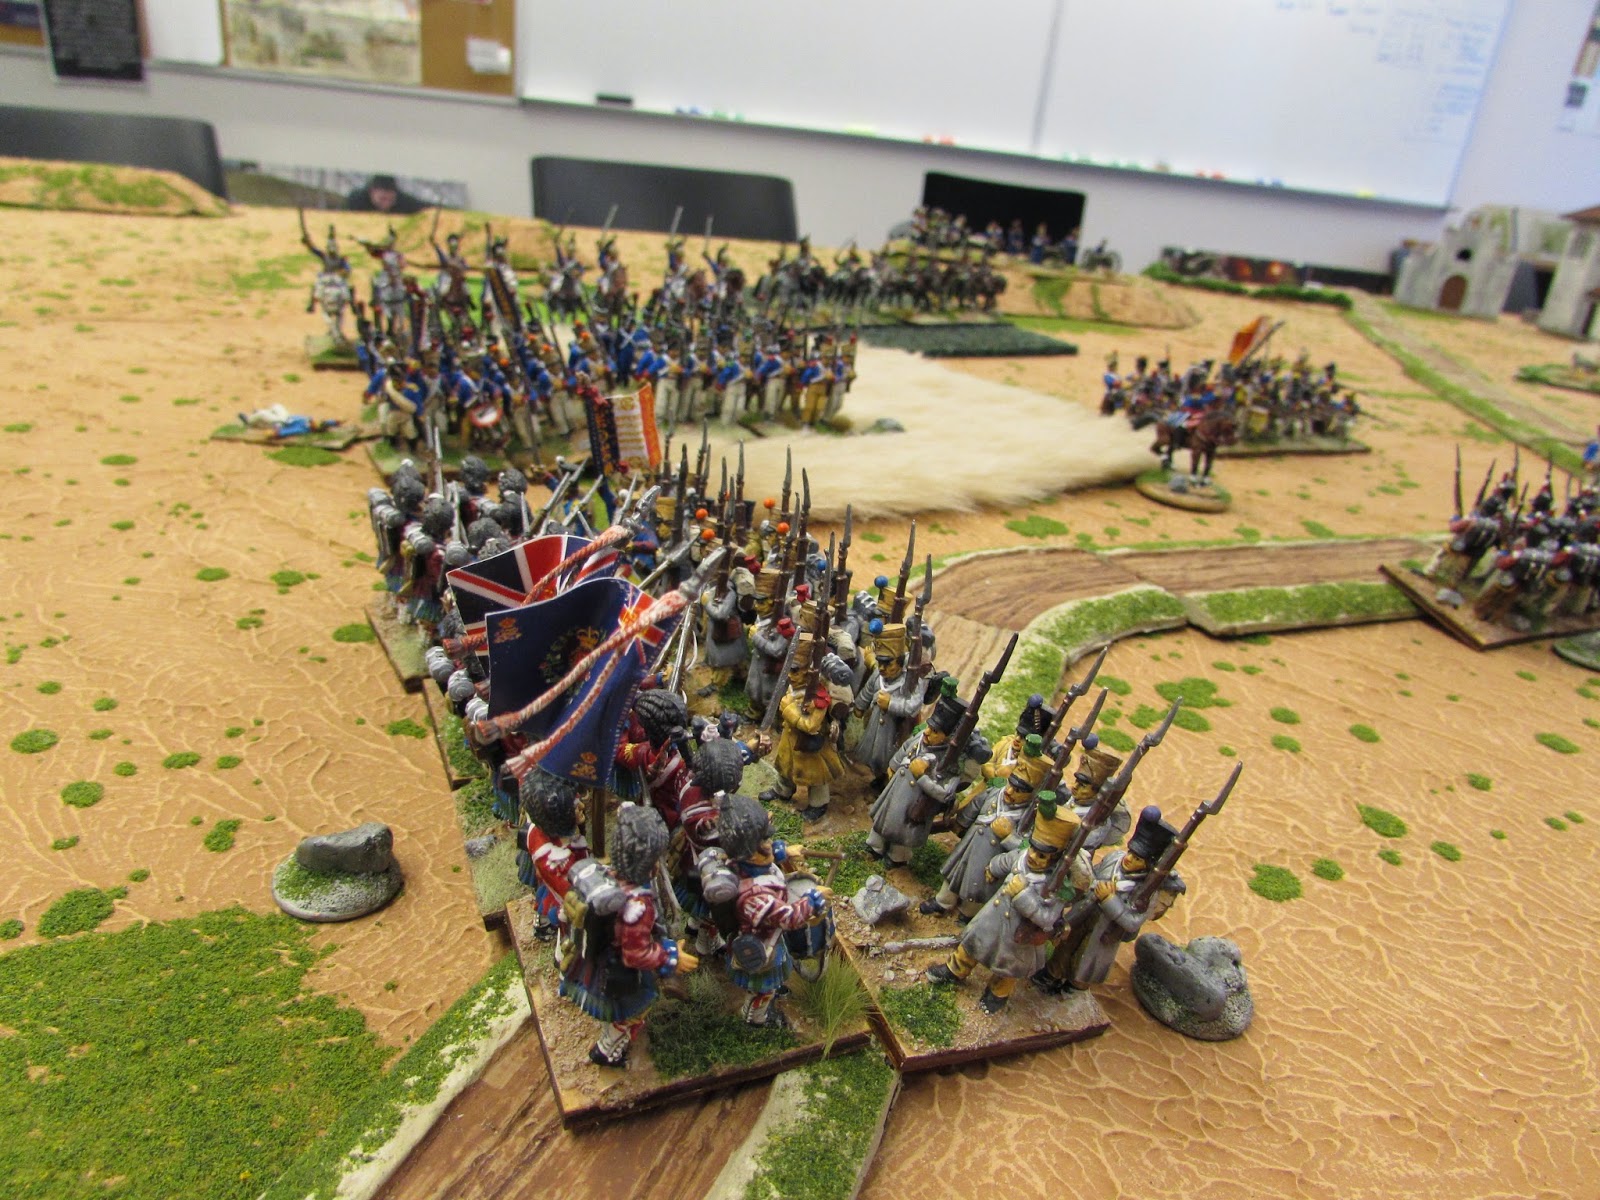
The Amazons Black Watch Highlanders drive into the French center.  These students do love to charge!

Sensing a moment of decision, the British right pushes forward against the weakened Guard battalions.  Tomorrow is our final session.  Will it be decisive?

Tuesday, March 17, 2015

Young Generals, Part the Third

Don considers how screwed his Prussians are while Kashta makes a tie out of his ruler to mock him.

The students discovered that die rolls had a sense of occasion if they made flamboyant tosses at the far end of the table.  Team France looks on as the fate of their left flank hangs in the balance. 

The British Heavy dragoons and their supporting Hussars drove the Guard back in disorder, but fresh reinforcements caused the British cavalry to retreat.  British cavalry retreating? That's cray-cray!

Crazy Highlanders try to capture some French guns. A line of French infantry politely awaits the outcome.

The French right flank was a crazy back-and-forth.  Prussian dragoons drove off some Chasseurs, while the rest of the Guard Brigade tried to claim the center of the battlefield.

Monday, March 16, 2015

Young Generals, Part II

British gunners, despite casualties, deliver a pounding to the French with increasingly accurate long-range fire.


Blucher's in the woods!  The Prussians arrive early, causing a big "oh, crap" moment among the French.  While the woods offer some protection, the infantry brigade will soon find itself penned in, hoping for some relief from the cavalry.

The Bavarians (yes, there were Bavarians fighting for the French at Waterloo.  I'm a Ph.D. in history! How DARE you question me!  And it's a little known fact that the Prussians wore borrowed Portuguese and Spanish uniforms.  Ph.D, etc.) respond quickly with an excellent command roll. They set up a killing zone to intercept the Prussians and they came out of the woods, and the lead battalion was pulped. 

In the foreground, Prussian and British dragoons mass to clear the Bavarians away from the woods.  In the center, a massive French column advances on thin line of British Guards. In the background, the Old Guard advanced on the British flank, only to be intercepted by the British heavy cavalry.

This should have been a slaughter. Both the Old Guard and the supporting battalion of light infantry got caught before they could form square. Unable to even get off a closing volley, it looked like curtains for the infantry. But the Grognards are tough and they held their ground (with a miraculous set of morale rolls) and the supporting attack of Hussars against the light infantry did not sweep aside their opponents as hoped.  Next turn will see the outcome of the scrum.  It's anyone's fight at present, with the winner taking a huge advantage along the flank.   

Friday, March 13, 2015

Young Generals Have At It

My military history class has moved on from the American War for Independence to the wars of Napoleon. The way I structure our case studies, I show the students a period film (in this case, Waterloo), we do secondary readings (some of them excerpts from Atkins' Waterloo Companion), then we play a simulation game while the students write a mini-research essay critiquing some aspect of the film.  Today, we began our scaled down version of Waterloo with my 28's.  The buildings may look like Spanish, but don't be fooled. I razed Le Haye Sainte and Hougumont, as I don't want to have to deal with fortification rules with novice players.  The rules themselves are a slightly modified Black Powder.  Since they are the same rules as we used for the AWI, the kids were ready to run once they learned how to form square.

Team France. Or "Team Cheese Eating Surrender Monkeys" if you prefer

Team Sharpe Britain. No Brunswickers of Dutch-Belgians in sight, and heavens knows when the Prussians will arrive.
The ritual smack-talking
Riding through fur is fun!
"Sir, we're the Old Guard! Should we be leading the attack?"
"Silence, Private. We're a diversion. Or something."  
Heavy cavalry apparently prefer the just-out-of-focus look.
The column prepares to move. Let's blame the soft focus on battlefield haze and artillery smoke.
"Hold the line, you blackguards! You scum! you villains!...Oh, I say! Did my top hat always have a hole just there?"

It begins...

My son went on a trip to the Civil War Museum in Harrisburg today.  He's never been one for any of my nerdy games, but from the look in his eyes, he might very well catch the re-enactment bug...

Monday, March 2, 2015

Vorwarts! Blucher project complete


Last year, I got the hankering to do Napoleonics on a scale that allowed me to command armies rather than divisions.  I love my 28mm figures, and I enjoy both Black Powder and the quick-play house rules we use in the Ambler Gamers.  But I wanted the chance to say "Order the Fourth Corps forward!" and "Commit the Guard!" and to refight the epic battles of the period. So I did what any good wargamer would do: commit to gaming in a new scale and search for a good set of rules.

For a long time, I considered Volley and Bayonet, which was exactly the scale I desired. However, the command system left much to be desired. My test for a good set of rules is if it forces players to worry about the kind of issues that commanders at that level  worried about.  

I heard about Sam Mustafa's upcoming Blucher rules, and they seemed to fit the bill perfectly. After months of breathless anticipation, the rules were released in February. Based on two read-throughs, I believe I made the right choice. I can't wait to take these rules for a test drive.

In anticipation of Blucher's release, I started painting up 10mm Russian and French armies on 3" square bases. You can see that I left a 3/4" strip at the back of each base clear for unit labels, which will allow me to keep track of stats and elan losses without having to resort to a roster.  Units have skirmishers deployed and/or artillery attached to signify units with those characteristics.  All other information will be on the labels (you can see a few prototypes fixed on with a glue-stick).

The large command stand is a C-in-C marker. The one with two generals will represent a significant sub-commander. The otehr command stands will be used to show when a unit is "prepared".


The figures are all Old Glory 10mm. With the OGA discount, they come to about $.10 a figure.  These are some Bavarian allies for the French. If I ever get to Phase II, I will add some Poles and Italians. And maybe some Austrian allies for the Russians. And, you know, that Ottoman list looks pretty cool...


The Russian infantry. 10mm is large enough that I can pick out the mitre helmets of the Pavlovski Guard units at this range.

French cavalry. Two units of Dragoons, Guard Lancers, and Chasseurs, plus one unit of Cuirassiers.